
DIY Sensor Stickers: A Simple Guide to Making Your Own CGM and Pod Adhesive Patches

For many children and teenagers living with Type 1 Diabetes, devices such as the Dexcom G6, Dexcom G7, FreeStyle Libre, or Omnipod 5 are worn every day to help manage glucose levels and deliver insulin. These technologies play a vital role in diabetes care, but they also rely on staying securely attached to the body to work properly.
For many young people, knowing their sensor or pod is secure is incredibly important. Children and teens are active by nature: running at school, playing sports, swimming, or simply moving through busy days. If a device starts to peel or comes loose early, it can cause frustration, anxiety, and sometimes the need to replace an expensive sensor before its time.
This is where adhesive patches and sensor stickers can help. These overlay patches sit around the device and reinforce the original adhesive, helping sensors and pods stay in place for longer. They can also add colour, personality, and confidence, turning diabetes technology into something that feels a little more personal.
However, pre-made patches can become expensive when you’re replacing them regularly. The good news is that with the right materials and a simple template, it’s possible to make your own durable, waterproof sensor and pod stickers at home that help keep devices secure while saving money.
Choosing the Right Material
Commercial adhesive patches usually use medical grade hypoallergenic acrylic adhesive combined with breathable fabrics designed to move with the skin. When making your own DIY versions, selecting similar materials will help you achieve the best results.
Below are some of the most common and reliable material types.
Cotton and Spandex Blends (Best for Comfort and Breathability)
Typical composition 96% cotton/ 4% spandex
Benefits
Soft and breathable
Comfortable for long wear
Moves naturally with the skin
Less likely to cause irritation
Patches from brands like Not Just a Patch, Skin Grip and ExpressionMed commonly use breathable cotton and spandex blends combined with medical grade acrylic adhesive.
It’s a great option for:
children
sensitive skiin
everyday wear
Polyurethane or Nylon (Best for Waterproof Durability)
Polyurethane (PU) or nylon fabrics are commonly used for stronger adhesive patches.
Benefits:
Highly water resistant or waterproof
Thin but very durable
Ideal for swimming and sports
Many durable patches use materials similar to those used by Type Strong.
Rayon (Best for Sensitive Skin)
Medical grade rayon patches are lightweight and gentle on the skin.
Benefits:
Hypoallergenic
Latex free
Lightweight and breathable
Designed to minimise irritation
Some patches made from rayon are produced by brands such as MySweetStitch.
Kinesiology Tape (Best for Maximum Adhesion)
Another DIY option many people use is kinesiology tape, often called KT tape.
Benefits:
Very strong adhesive
Stretchy and flexible
Designed to stay on skin for several days
Kinesiology tape can be particulary useful for sports, swimming, or longer sensor wear.
Other Adhesive Dressings Commonly Available
Tegaderm transparent film dressings
Opsite Flexifix waterproof adhesive film
Hypafix stretch adhesive tape
Fixomull Stretch breathable fixation tape
These types of materials can sometimes be adapted to create DIY overlay patches for sensors and pods.
Pro Tip: Mix and match adhesives types for what works best for your child or teen. E.g. Pre-cut adhesive patch for sensor and Kinesiology Tape for pods.
Key Features to Look For
When choosing materials, look for:
Medical grate adhesive- Designed for skin contact and long wear
Hypoallergenic and latex-free- Important for people with sensitive skin
Breathable fabric- Helps prevent irritation during extended wear
Water resistance or waterproofing- Important for showers, swimming and sweating
A non-stick centre- The centre of the patch should not stick to the sensor or pod itself
Materials You’ll Need
To make your own sensor or pod adhesive patches you will need:
Medical grade adhesive fabric (cotton/ spandex, rayon, polyurethane, or kinesiology tape)
Scissors or a craft knife
Pen or fabric marker
Paper or card for a template
A hold punch or small scissors
Optional tools:
A craft cutting machine such as a Cricut Joy
A circle cutter for cleaner shapes
Pro Tip: Trace an Existing Adhesive Patch
One of the easiest ways to create a well fitting sticker is to trace an adhesive patch you already own. Sometimes you can get these from the brand of device you are using.
Many commercial patches are designed to fit sensors perfectly. Instead of measuring everything from scratch, you can simply use one as a template.
How to do it:
Place the existing patch on paper or cardboard
Trace the outer shape
Trace the centre opening
Cut it out to create a reusable template
This makes it easy to create consistent patches every time.
Step-by-Step: How to Make Your Own Sensor or Pod Sticker
Step 1: Create a Template
Use either:
a traced adhesive patch
a printed template
measurements from your device
Cut the template out of cardboard so it can be reused.
Step 2: Trace the Shape onto Your Material
Place your template over the adhesive material and lightly trace:
the outer patch shape
the centre hold
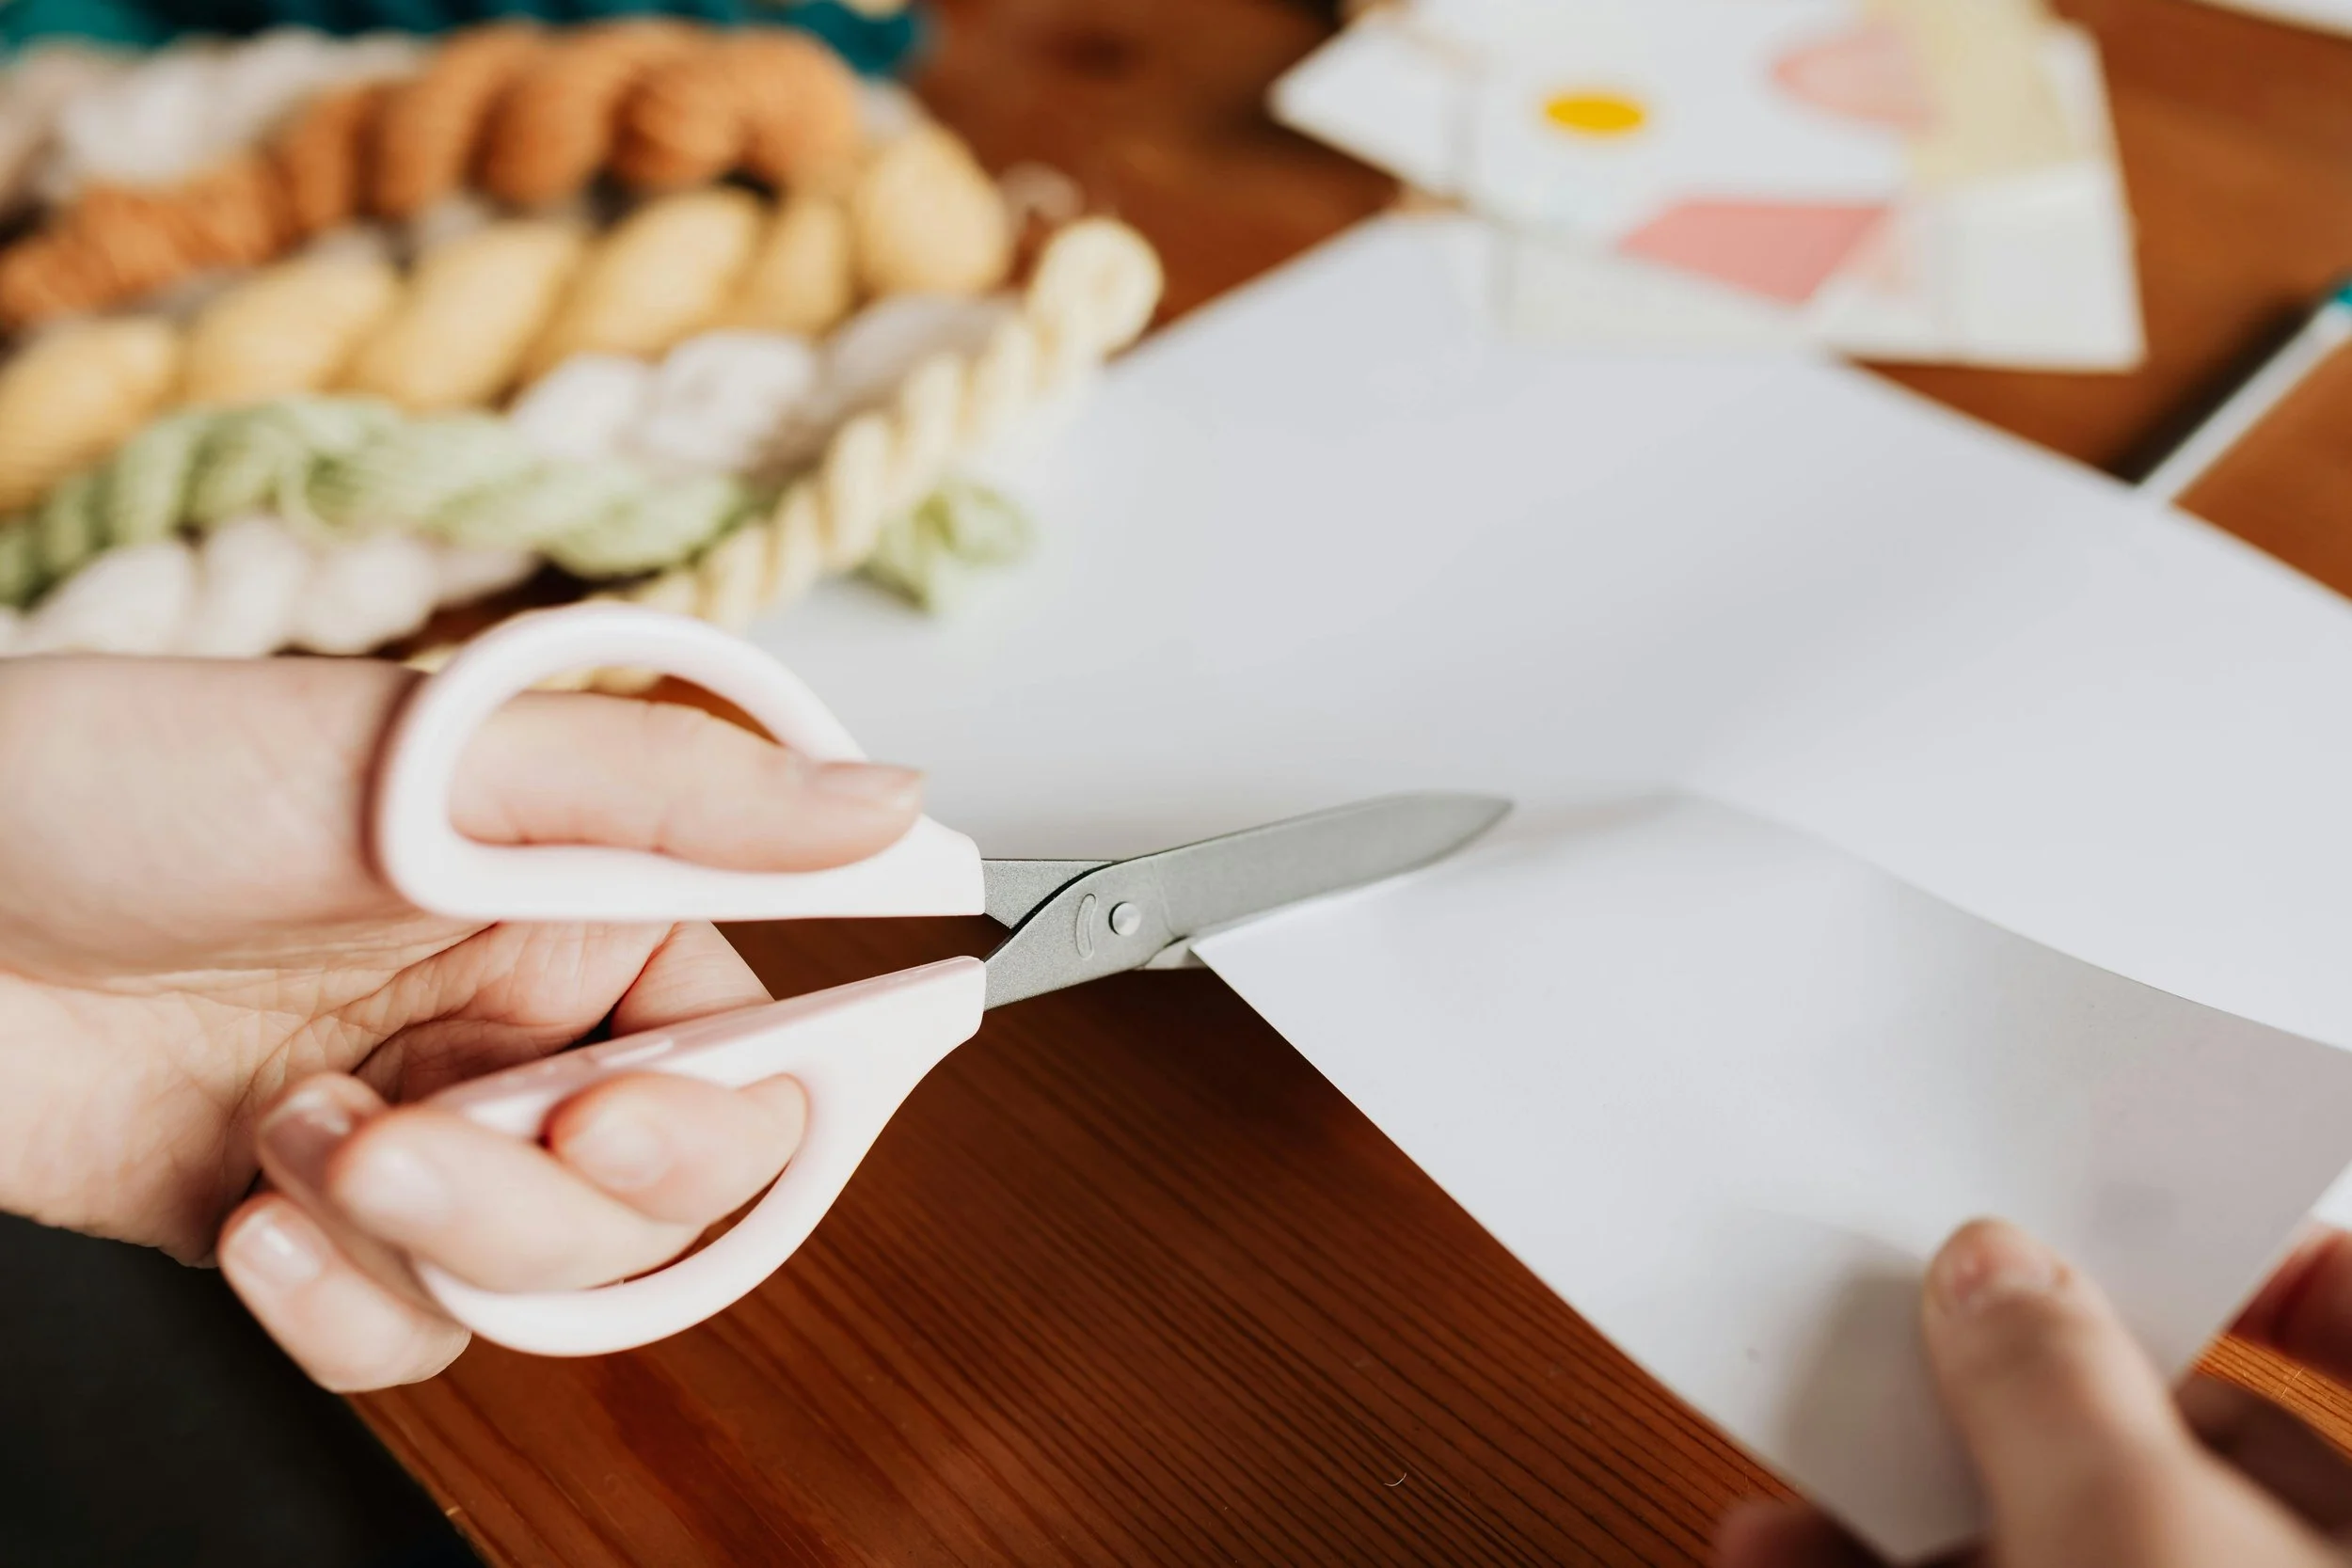
Step 3: Cut the Patch
Carefully cut:
the outer shape
the centre opening
The centre opening prevents the adhesive from sticking directly to the device.
Step 4: Apply the Patch
Before applying:
Clean and dry the skin around the device
Peel away the adhesive backing
Carefully place the patch around the sensor or pod
Smooth it down to remove air bubbles
The patch should sit on top of the device’s existing adhesive, reinforcing it rather than replacing it.
Safety Tip: Always remove the patch if irritation occurs
Making Diabetes Devices Feel a Little More Secure
For many children and teenagers living with Type 1 Diabetes, wearing devices every day can already feel like a big responsibility. Knowing that a sensor or pod might peel off early can add unnecessary worry to school days, sports, sleepovers, and everyday activities.
Adhesive patches help provide an extra layer of security, reinforcing the device so it can stay in place through busy and active days. While ready made patches are widely available, creating your own using medical grade adhesive materials, such as cotton and spandex blends, rayon, polyurethane, or kinesiology tape can be an affordable and practical alternative.
With the right materials and a simple template, it’s possible to make durable, waterproof DIY patches at home that help keep devices secure while also allowing for creativity and personalisation.
And sometimes that extra bit of security can make a real difference giving children and teens the confidence to focus on school, sports, friendships and all the things that make up their busy lives, rather than worrying about their diabetes device coming loose.