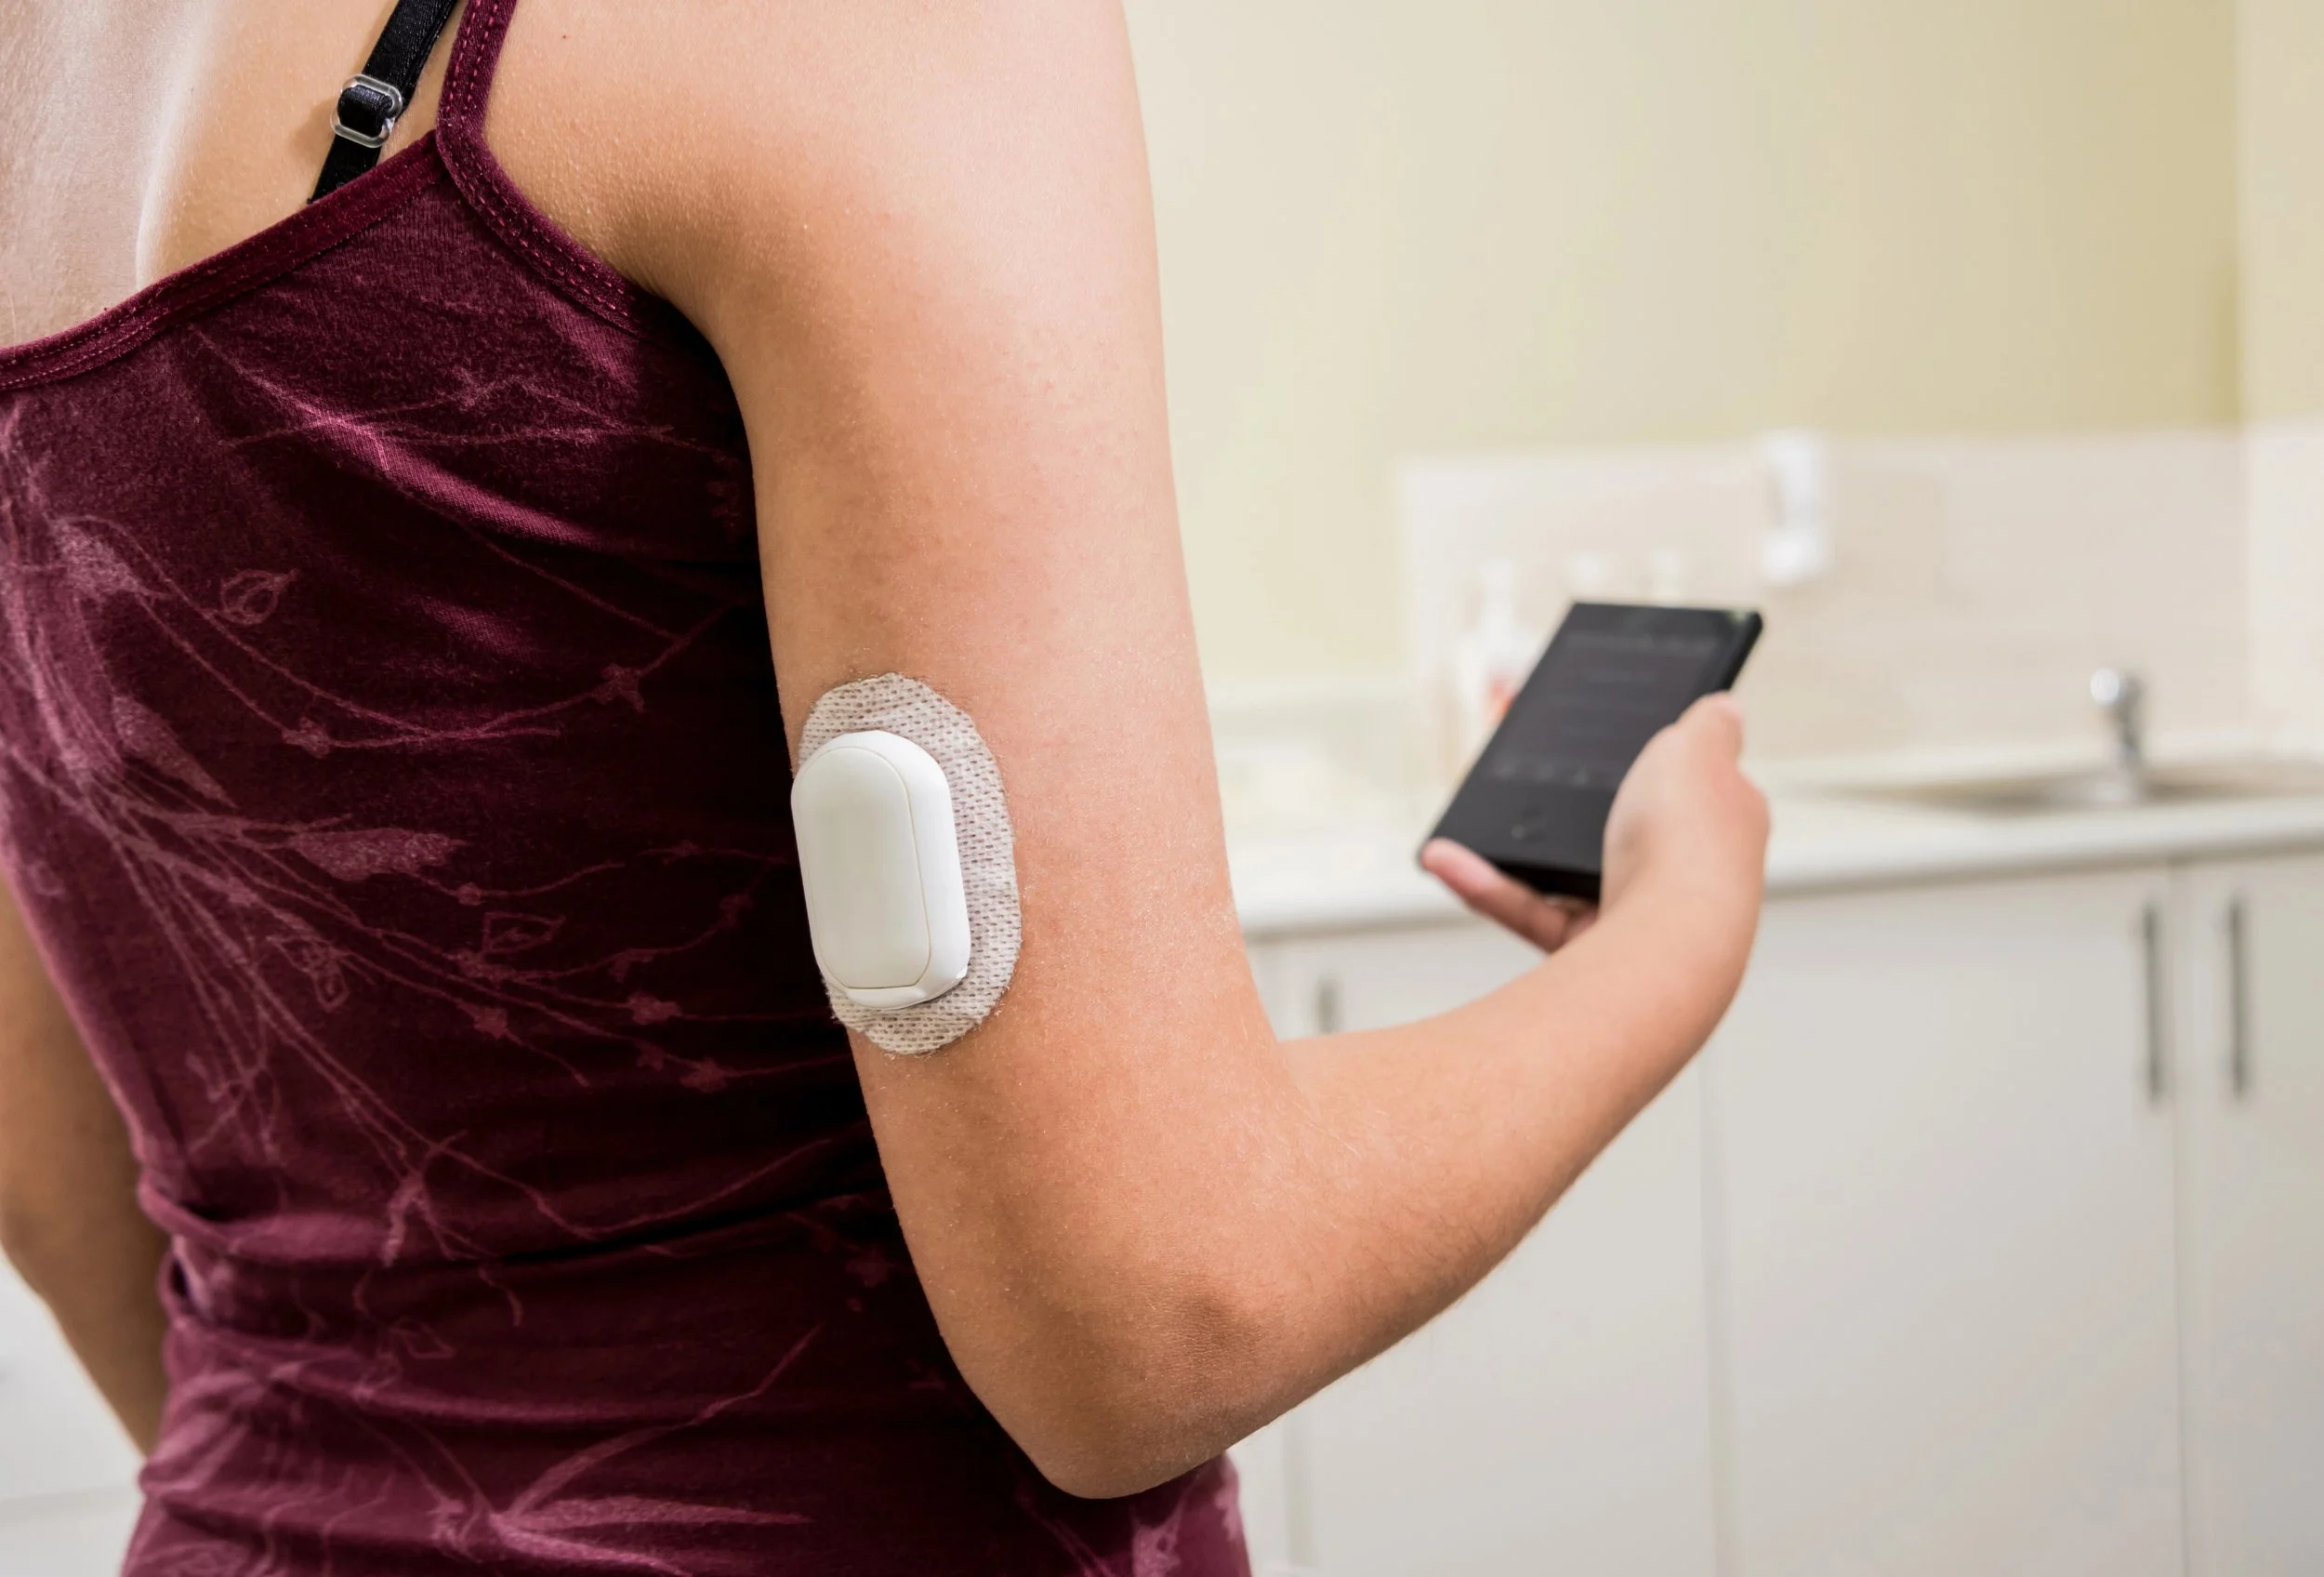
Pump Panic? A Guide to Common T1D Insulin Pump Problems
From mystery occlusion alarms to infusion sets launching mid-cartwheel, pump problems can throw a wrench in your carefully balanced diabetes routine. But here’s the good news: most of these hiccups are fixable- and the more you know, the calmer you (and your child) will feel.
In this guide, we’ll walk through the most common pump problems, explain why they happen and give you real-world solutions (plus a few sanity-saving tips) to get things back on track quickly.
1. Bubbles in the Tubing or Reservoir
Why it happens: Air gets trapped during filling, especially if insulin is cold or filled too quickly.
What to do:
Prime the tubing again and gently tap bubbles upward to the reservoir to remove them
Let insulin sit at room temp before filling
Fill the reservoir slowly and check for bubbles during each step
Why it matters: Air bubbles prevent insulin from being delivered- potentially causing high blood sugar
2. Leaking Pump or Reservoir
Why it happens:
Cracked reservoir, worn O-rings, over-tightened tubing or faulty seals.
Sometimes caused by mishandling or manufacturer defect
What to do:
Inspect for visible insulin leakage (around reservoir, tubing or infusion site)
Replace the reservoir and site
If leaking persists, call pump tech support
Use backup insulin until issue is resolved
3. Infusion Set Coming Loose or Off
Why it happens:
Active play, sweating, baths/swimming, poor adhesive or accidental pulls
Especially common in toddlers and young children
What to do:
Reinforce site with medical tape, overpatch or site covers
Place sites where there’s less movement (back of arms, upper buttocks)
Change to a new site if it’s pulled off completely
Always have a backup infusion set ready
4. Occlusions (Blocked or Kinked Tubing/ Site)
Why it happens:
Tubing gets bent or infusion site kinks under skin
Old sites or thick scar tissue reduce absorption
Cold insulin or sticky insulin (e.g., Fiasp) can be more prone to occlusions
What to do:
Respond to the occlusion alarm: change infusion set and tubing
Massage the new site after insertion to help absorption
Rotate sites often to avoid lipohypertrophy (fatty lumps that block absorption)
5. Bleeding When Inserting Cannula
Why it happens: Even with careful insertion, sometimes you strike a capillary or small blood vessel
What to do:
If bleeding is minor and the site still looks secure, it may be okay to leave it- monitor blood sugars closely
If blood backs up into the tubing or the site looks unstable or painful, remove and reinsert in a new location
Apply pressure and an ice pack to the old site to reduce bruising
6. Pump Bumps
Why it happens:
Leaving a site in too long
Repeated use of the same area
Reaction to adhesive or minor inflammation from insertion
What to do:
Rotate sites regularly (never reuse the same area more than once every 2 weeks)
Apply warm compresses after removing the set
Use barrier wipes or patches under adhesive to protect skin
Watch for hard lumps- they may indicate scar tissue (lipohypertrophy)
7. Skin Infections at the Site (Redness, Swelling or Pus)
Why it happens:
Bacteria enter through the insertion site, especially if hands aren’t clean or site hygiene isn’t followed
Warm, moist environments under adhesive can promote bacterial growth
What to do:
Remove the infusion set immediately
Clean with antiseptic (chlorhexidine or alcohol wipes)
If there’s swelling, pus or spreading redness, contact your doctor- antibiotics may be needed
Ensure clean hands and skin prep before all future insertions
Consider switching adhesives, if irritation is frequent
Prep Tips: Be Ready Next Time
Always have:
Spare infusion sets, tubing and reservoirs
A backup insulin pen or syringe kit
Alcohol wipes, extra adhesive and skin barrier prep
Written backup dosing instructions
Teach your child (age-appropriate) how to recognise and report:
Pain at the site
Pump alarms
Leaks or disconnections
Role-play emergencies so both of you feel less panicked when the real thing happens
Final Thoughts
No one ever wants to deal with pump malfunctions, bleeding sites or site infection- but they do happen. The good news? With the right preparation, most issues can be handled quickly and safely.
By learning what to look for and keeping back up supplies on hand, you’re not just managing diabetes- you’re building resilience in your child and yourself.


